


Saturday, January 24, 2015
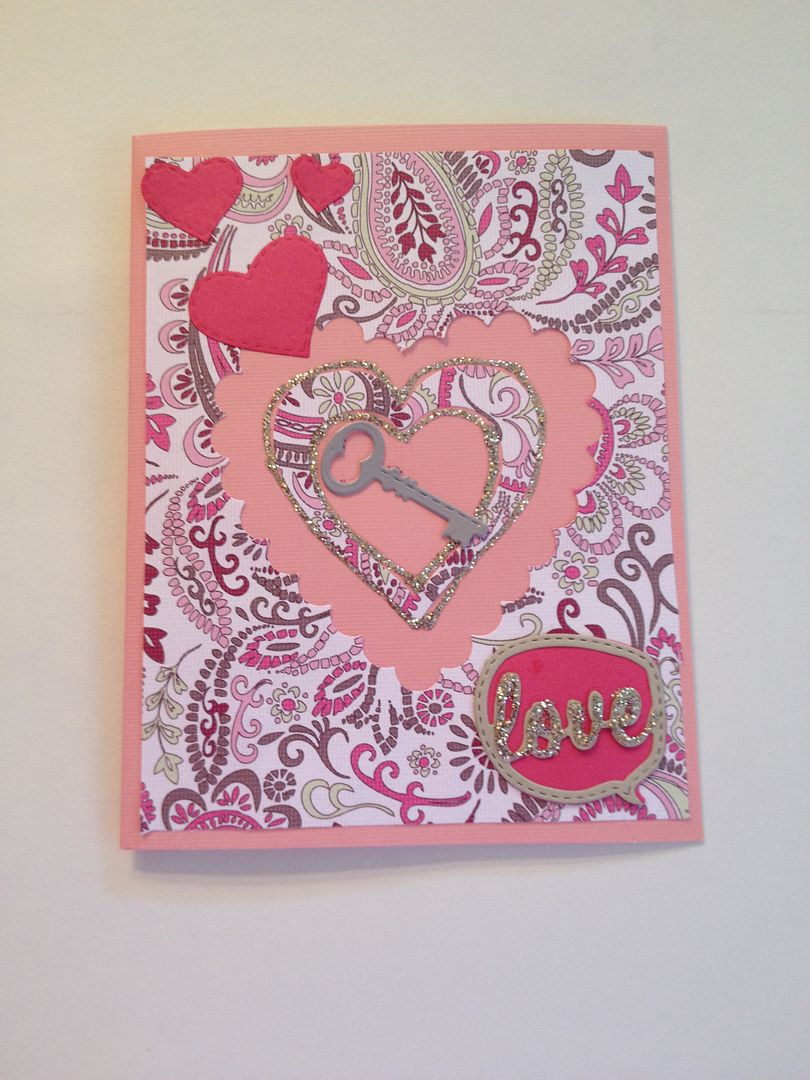
Pink Paisley Hearts
Sunday, December 14, 2014
DESIGNER CHALLENGE -* Dream * Believe *
It is another Designer Challenge over at MyCreativeTime and I got inspired. I did most of my Christmas in red and white this year so it was refreshing to use some other traditional colors.
http://www.creativetimeforme.com/2014/12/designer-challenge.html
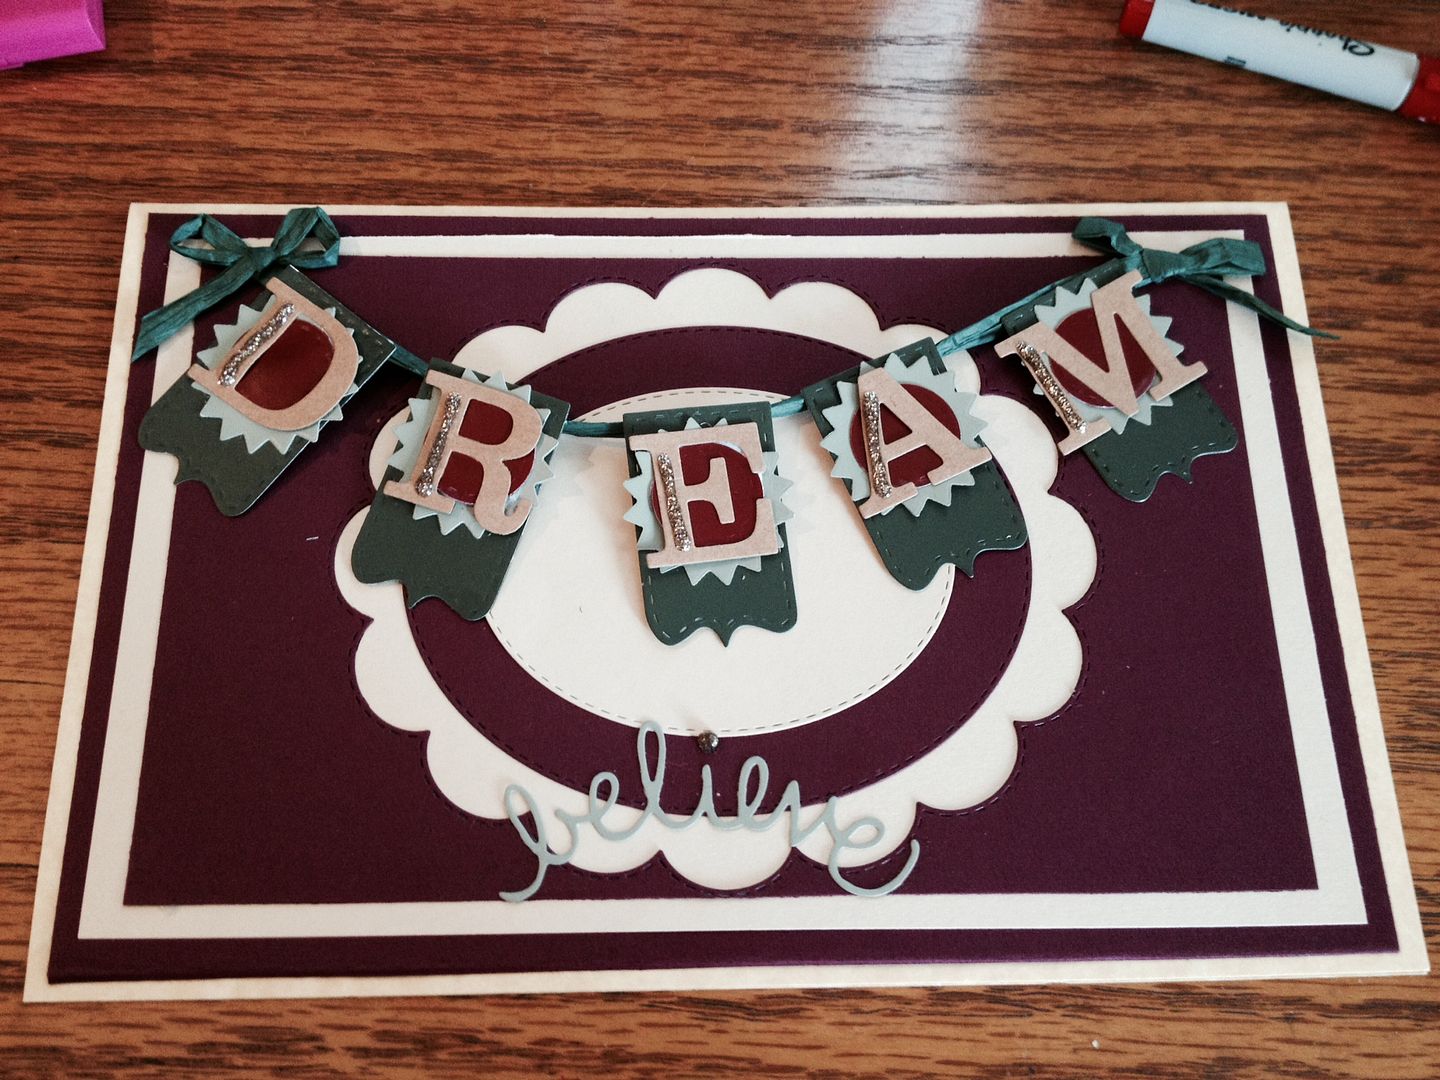
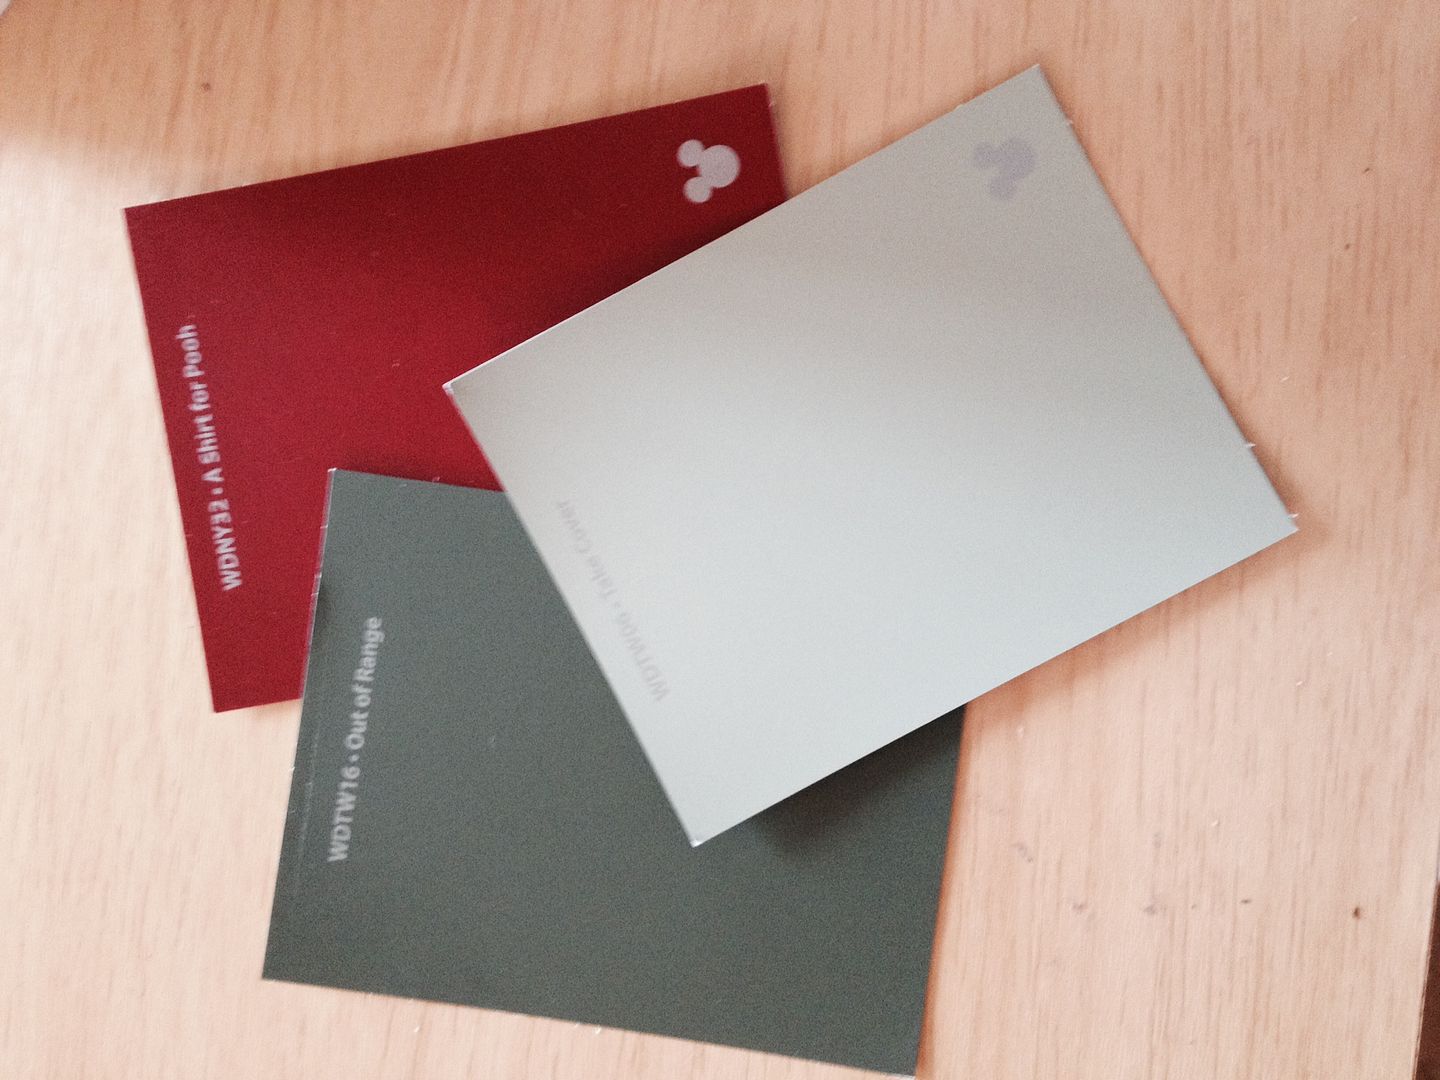
Here is a tip: When I have a color challenge I pull out my collection of paint chips! Then I am able to design with the required colors.
The sets I used for this card:
Build a banner
Believe from Boughs of Holly
Uppercase Fun Dies
Scallopped and Stitched Ovals
http://www.creativetimeforme.com/2014/12/designer-challenge.html
The banner swings freely on the raffia ribbon.
Here is a tip: When I have a color challenge I pull out my collection of paint chips! Then I am able to design with the required colors.
The sets I used for this card:
Build a banner
Believe from Boughs of Holly
Uppercase Fun Dies
Scallopped and Stitched Ovals
Thursday, November 13, 2014
Guest Designer at My Creative Time
Hello my friends. My new job has not allowed much blogging time. Okay...none in a year but what a great way to come back. I will soon work from home and have lots more time to craft and blog rather than commute on the freeway and start my day at 4am.
Today I am the Guest Designer over at one of my favorite stamp and die cut designers MyCreativeTime.. I am featuring one of her new sets Boughs of Holly from her October 2014 Release. You can get your own set HERE. It is one of 21 sets I used for this gift.
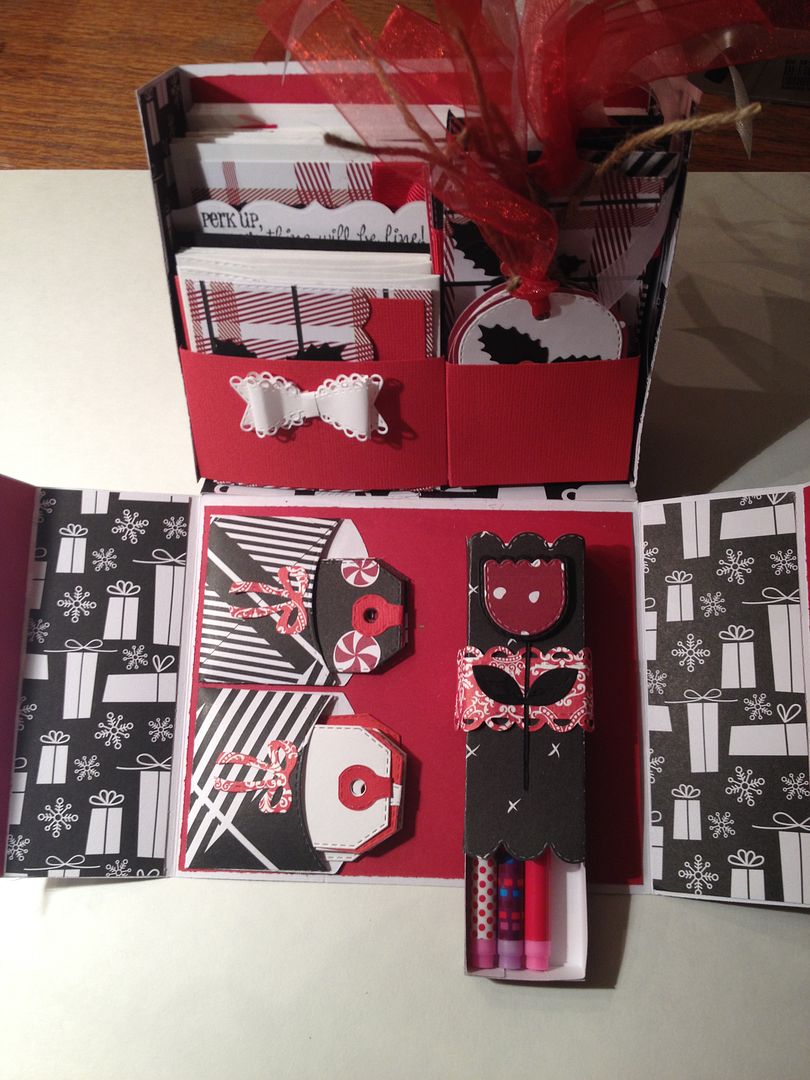
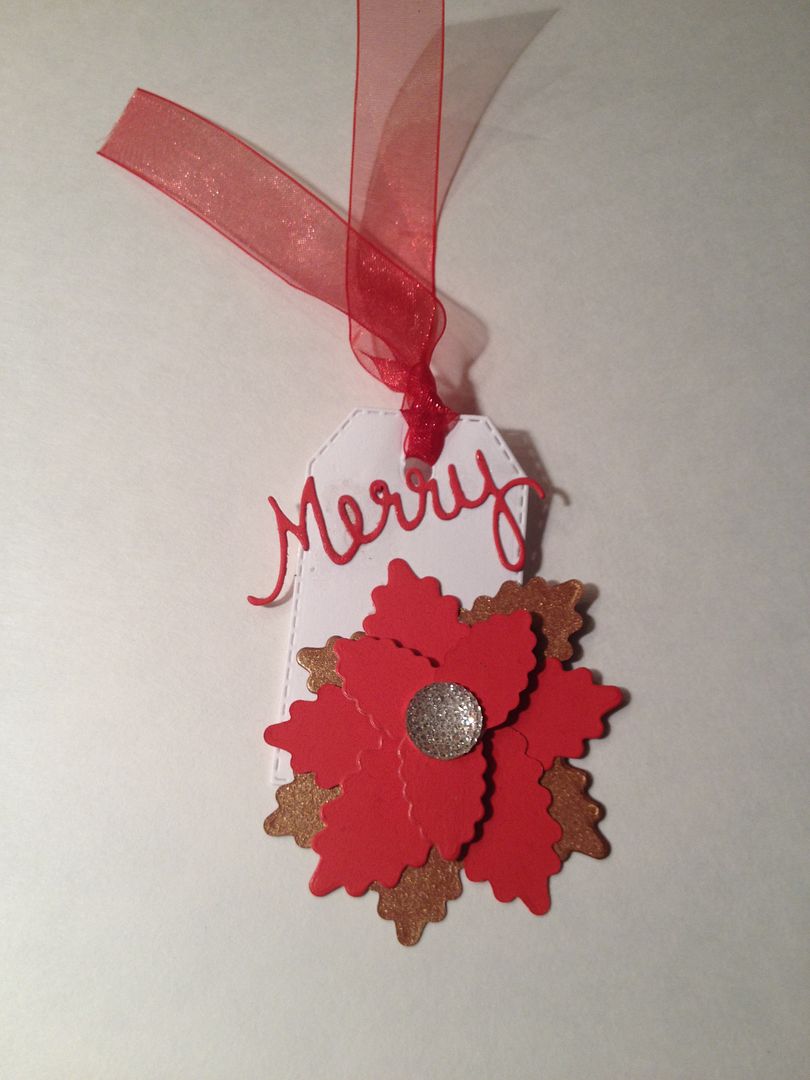
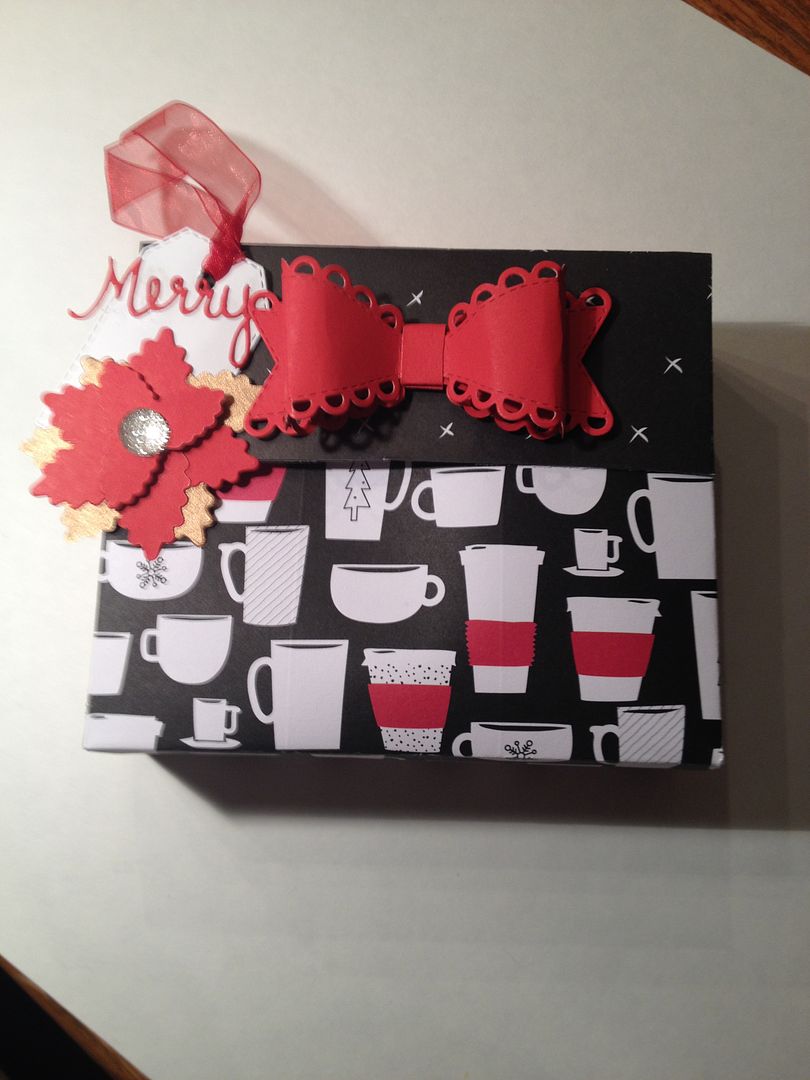 I made a poinsettia in copper and gold and placed it on a little tag. But what is inside the box? Hmmm...how about bringing back a vintage stationery box handcut and filled with 8 cards, 16 tags, 6 gift card holders, 6 notes, 3 pens and MyCreativeTime cuteness! My favorite part is adding the little pockets on the flap for some little tags and using the treat box for some mini pens. Both worked out perfectly for this. You could add gift cards to the little pockets too. Did you spy the little red bows?
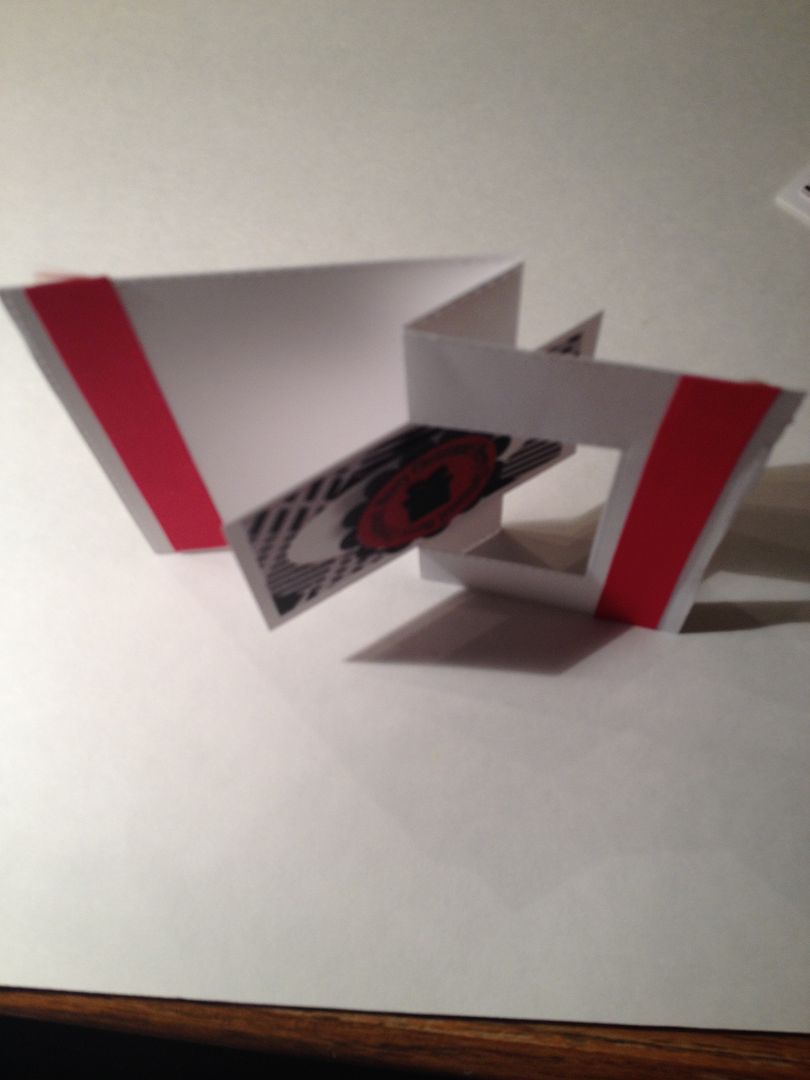 I made 6 Surprise Pop-Out Card Dies I am just fascinated with the design of this die. It is so fun and can hide a gift card in the back as it flips around.


Today I am the Guest Designer over at one of my favorite stamp and die cut designers MyCreativeTime.. I am featuring one of her new sets Boughs of Holly from her October 2014 Release. You can get your own set HERE. It is one of 21 sets I used for this gift.
Now I did feature holly and poinsettias but I
just love how all of these sets from MCT coordinate with sweet stitching and sizes that are compatible to work with each other. I used 21 different sets on this project! But in choosing a color scheme and using MCT products it went together super fast. I think it will make a great gift.
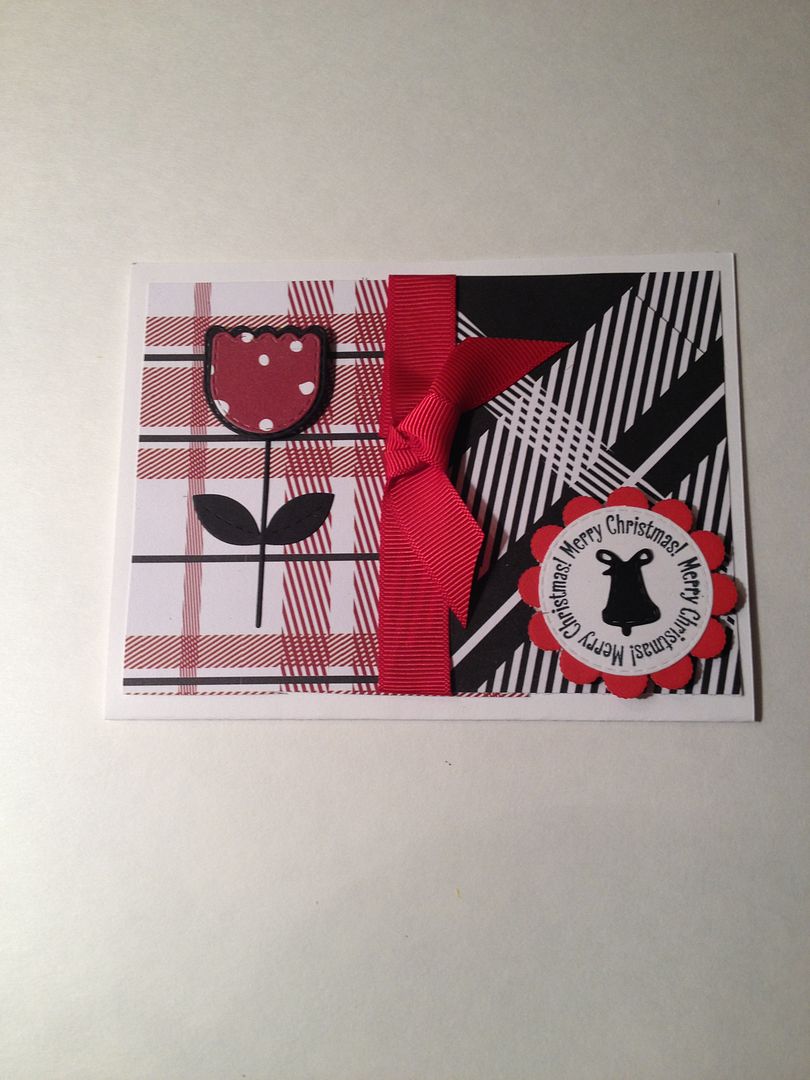
Now I just had to use the tulip from Stitched Pretty Flowers and Leaves. There are 6 cards using various designs with envelopes in this box.
A set of 6 of these sweet 3 x 3 Fancy Tri-fold Cards with coordinating envelopes.
6 large tags from Tag Die Layers
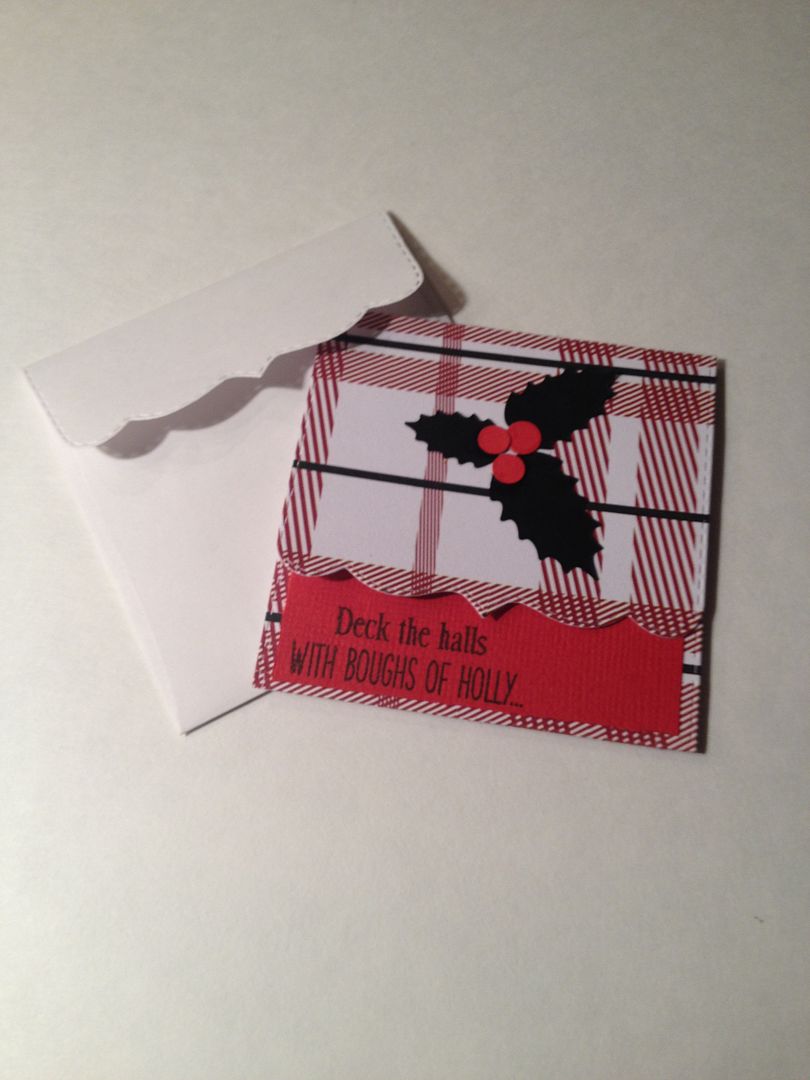
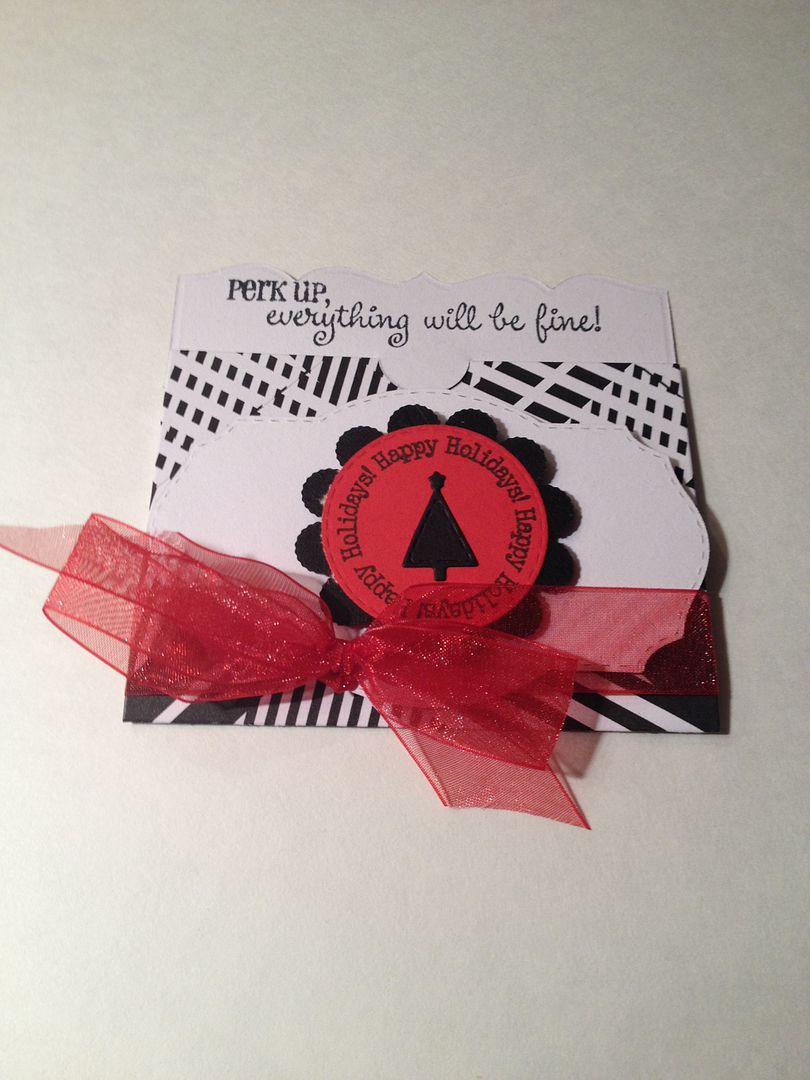
6 coordinating Gift Card Holders. A personal favorite and you can never go wrong with the scalloped and stitched circles and All Around Sentiments.
6 medium tags from Just Tags and the holly leaves cut in black.
12 mini tags from Stitched Round Tab Arrow and Tag Dies - this one featured on the gift package.
AND A PARTRIDGE IN A PEAR TREE!!
Thank you for stopping by.
I am anxious to read all your comments and see how you liked my project.
Here is a list of all the MCT products I used for this project:
Sunday, December 15, 2013
Snowman Soup
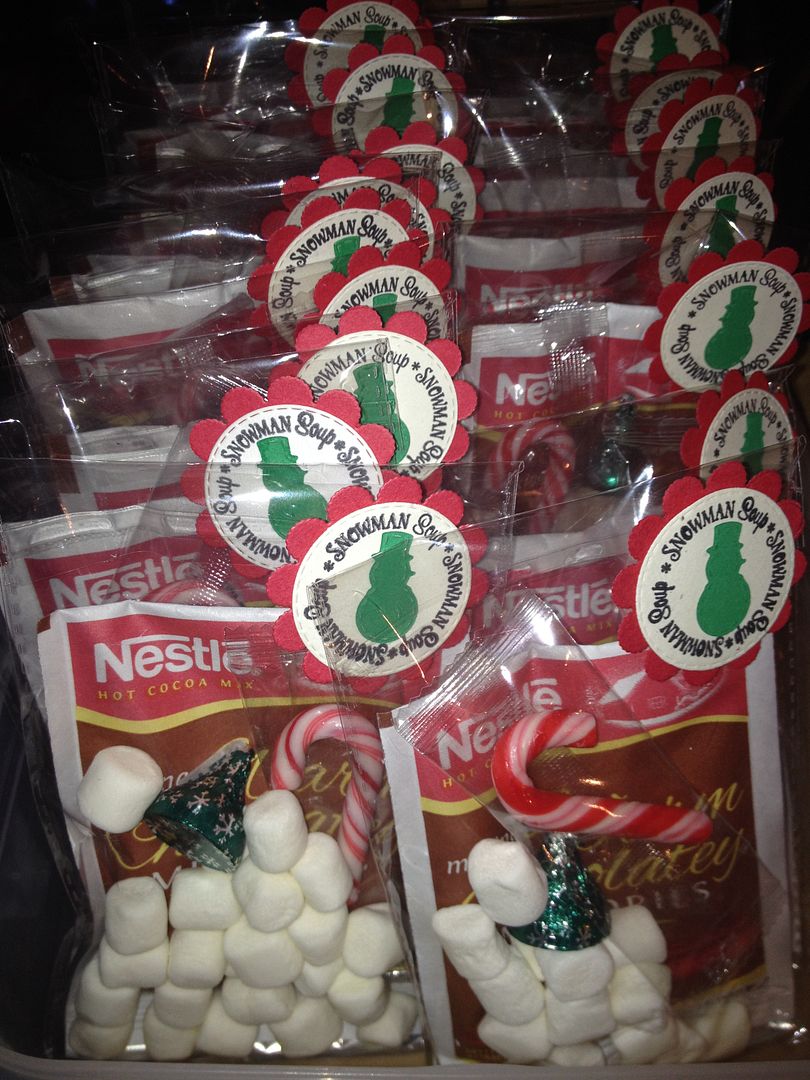
Sharing the Christmas Spirit with some yummo Snowman Soup.
I made 40 of these for my co-workers. I just had to get out of the "poop" mode. You know Kitty Litter at Halloween, Turkey Poop @ Thanksgiving. I had my choices of treats but it was not gonna be Reindeer Poop or Snowman Poop. So I told hubby I was making Snowman Soup. He said are you just gonna give them bottled water??? Um...no dear.
So I made these packets with Chocolate Mint Cocoa, Chocolate Mint Kiss, Marshmallows and a candy cane. I made cute little labels with MyCreativeTime Scalloped and Stitched Circles and the Snowman Soup Stamp and little Snowman Punch. So cute.
A little cup of
cocoa,
I'm sending 'round your way.
I hope that you'll enjoy it,
On some cold & wintry day!
I'm sending 'round your way.
I hope that you'll enjoy it,
On some cold & wintry day!
As you sip this
cocoa,
It's warmth will warm your heart,
Just like your friendship warmed up mine,
Right from the very start!
It's warmth will warm your heart,
Just like your friendship warmed up mine,
Right from the very start!
Thursday, October 31, 2013
KITTY LITTER CAKE
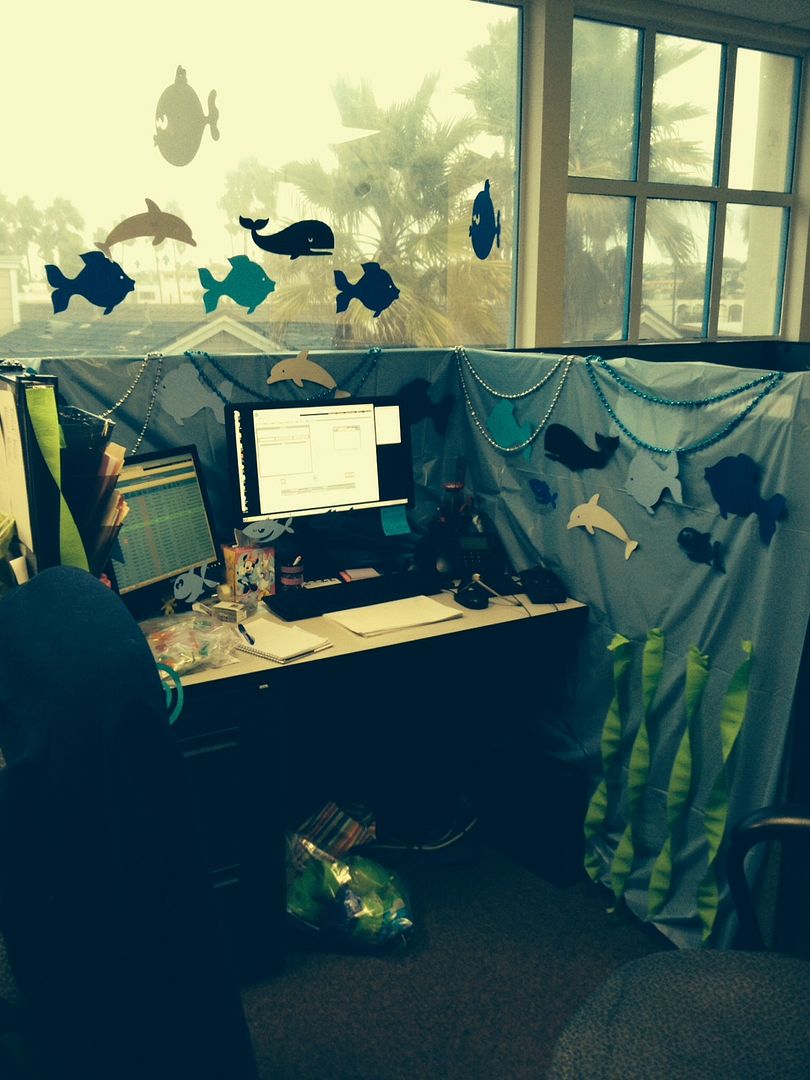
Hello my bloggy friends. It's Halloween and I love a holiday! A reason to create and make people smile. At work I decorated my cube like an aquarium and had a fishbowl of Gummy Sharks and Sweedish Fish to give out!
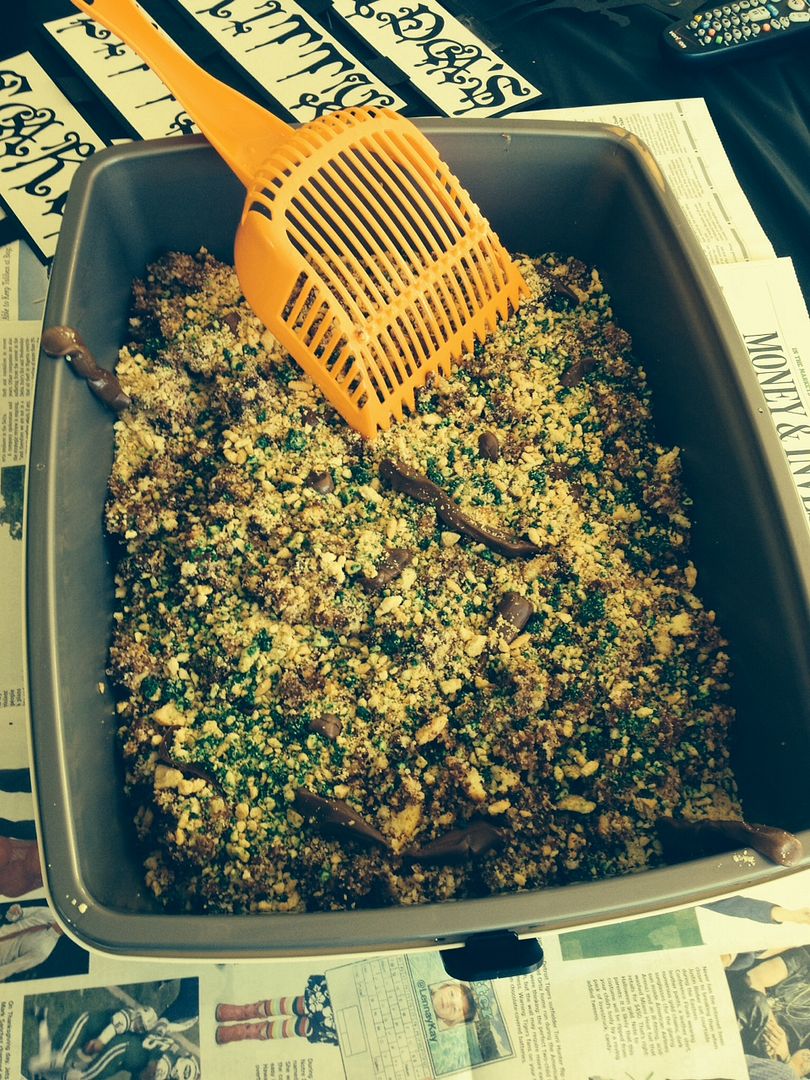
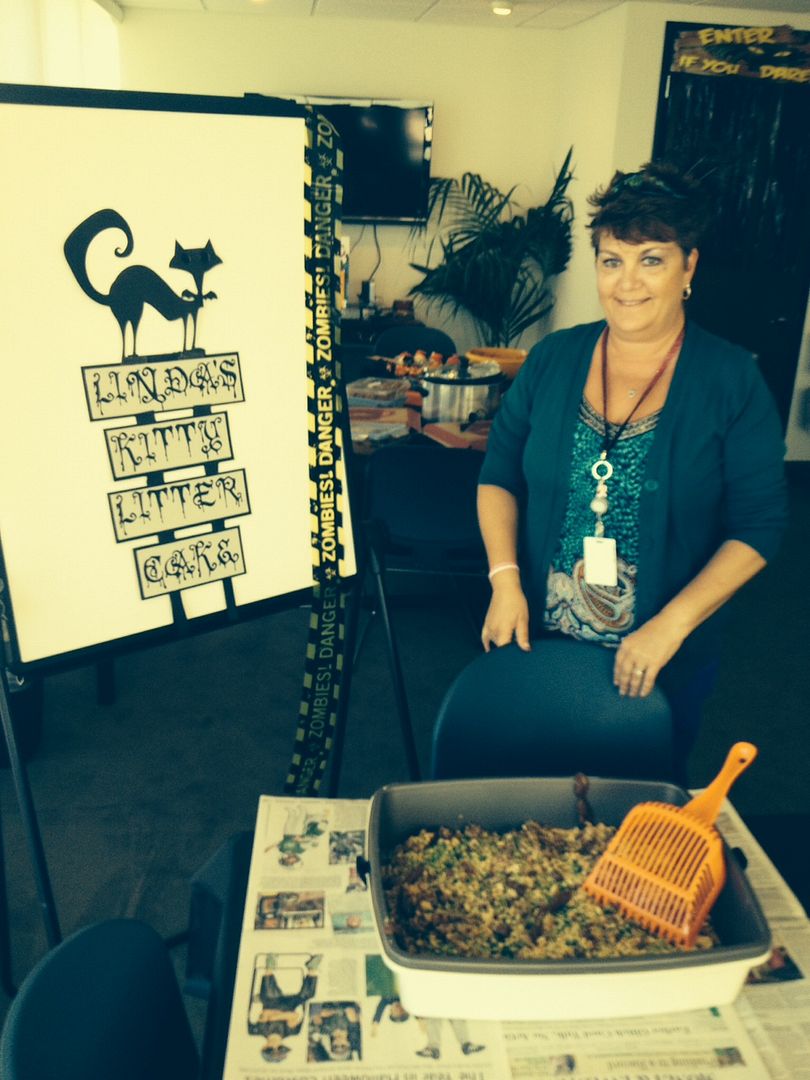
For the Creepy Treat Contest I made Kitty Litter Cake! I was so excited that it was success. I have shared the recipe. Please note the disclaimer to use a brand new cat box and scoop! As if...
I was a Peacock and won another giftcard for most original! An awesome day!!! And we still get to give out candy and treats!!!
KITTY LITTER CAKE
Original recipe makes 20 servings (that's if people will eat it!!!) It s delicious!
Directions
- Prepare cake mixes and bake according to package directions (any size pan).
- Prepare pudding according to package directions and chill until ready to assemble.
- Crumble sandwich cookies in small batches in a food processor, scraping often. Set aside all but 1/4 cup. To the 1/4 cup add a few drops of green food coloring and mix.
- When cakes are cooled to room temperature, crumble them into a large bowl. Toss with 1/2 of the remaining cookie crumbs, and the chilled pudding. You probably won't need all of the pudding, you want the cake to be just moist, not soggy.
- Line kitty litter box with the kitty litter liner. Put cake mixture into box.
- Put half of the unwrapped tootsie rolls in a microwave safe dish and heat until softened. Shape the ends so that they are no longer blunt, and curve the tootsie rolls slightly. Bury tootsie rolls randomly in the cake and sprinkle with half of the remaining cookie crumbs. Sprinkle a small amount of the green colored cookie crumbs lightly over the top.
- Heat 3 or 4 of the tootsie rolls in the microwave until almost melted. Scrape them on top of the cake and sprinkle lightly with some of the green cookie crumbs. Heat the remaining tootsie rolls until pliable and shape as before. Spread all but one randomly over top of cake mixture. Sprinkle with any remaining cookie crumbs. Hang the remaining tootsie roll over side of litter box and sprinkle with a few green cookie crumbs. Serve with the pooper scooper for a gross Halloween dessert.
Wednesday, October 23, 2013
Princess Zelda Costume
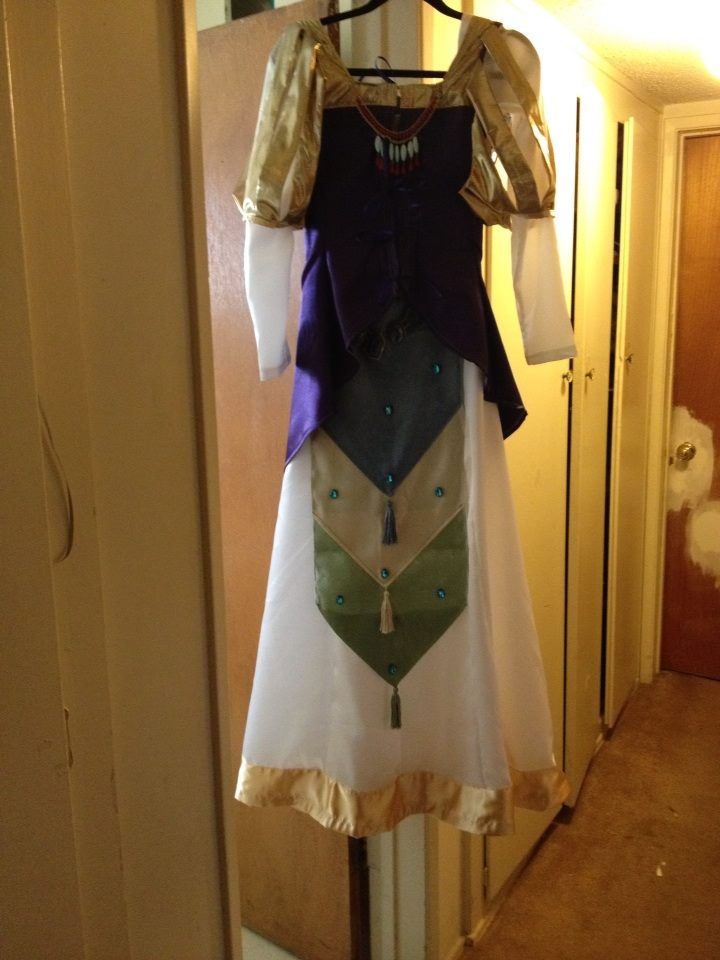
Not to be outdone by her baby sister, my niece Lacey said Aunt Linda, I understand you are making costumes for people...do you think you can make me a Princess Zelda Costume? Another character I haven't heard of!! I googled it and said I think I can. Well, I started with a Victorian Royal gown pattern so I could get those split sleeves and flat panel front. Then hubby said that the panel in the front looks like a table runner! A Ha!! I went to the dollar store and bought 3 different colors of table runners and sewed them together to form the pointy panel. I made a vest out of purple satin with gold lame' sleeves and bodice. Since I had no measurements (I just saw her in the summer and she is tiny!!) I made the vest tie up the front so it could be as tight or loose as she wanted. Added jewels and large rhinestones and I think I captured this one too! What do you think?
My Little Pony Princess Luna Unicorn Costume
I hope I remember how to post to my BLOG. It's been forever!! I have a new job! Yes another one but this one will stick. I am so happy!! My hours are 6-2:30 allowing plenty of time after work to run, shop, cook and craft...pretty much in that order.
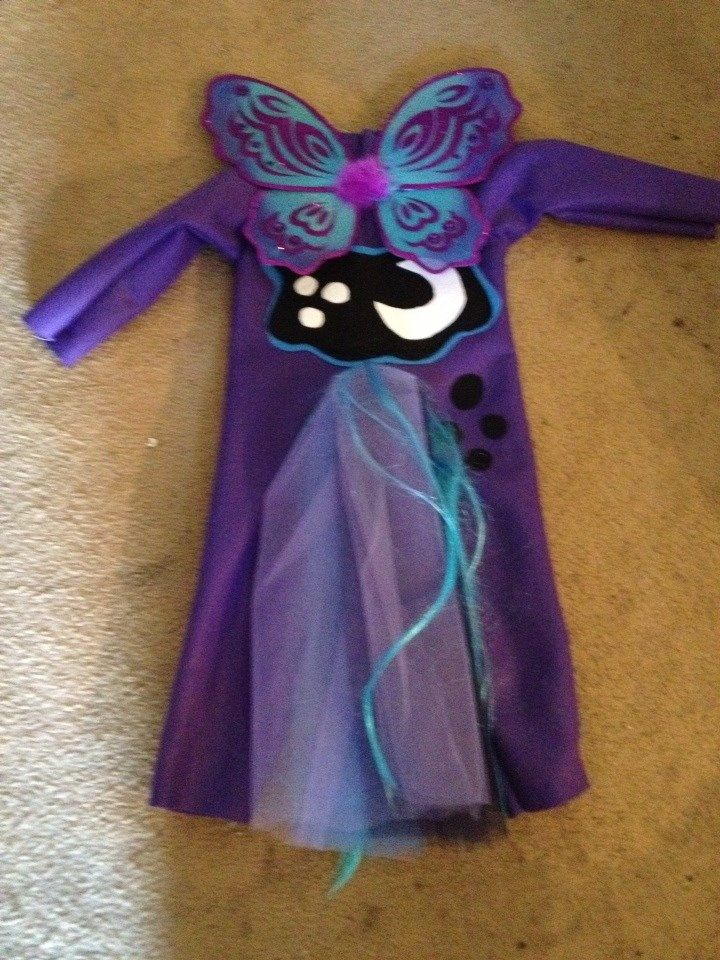
I contacted my sister in law to find out what my little 4-year old niece wanted to be for Halloween. Well, she said Princess Luna. A My Little Pony Unicorn of the night. She had no idea of what she was gonna do. It didn't take long for me to put on my thnking cap.
First...what the heck does Princess Luna look like? Ahhhh shades of purples and blues. I had made a Yoshi costume last year for our grandson and thought I could use the same concept. A felt jumpsuit with a hood. I started with a Triceratops pattern as then I could get the unicorn horn to look real. For the mane I envisioned shades of these beautiful colors in tulle. It would be pretty lightweight, relatively inexpensive and fall like a mane.
 |
| back with wings and tail |
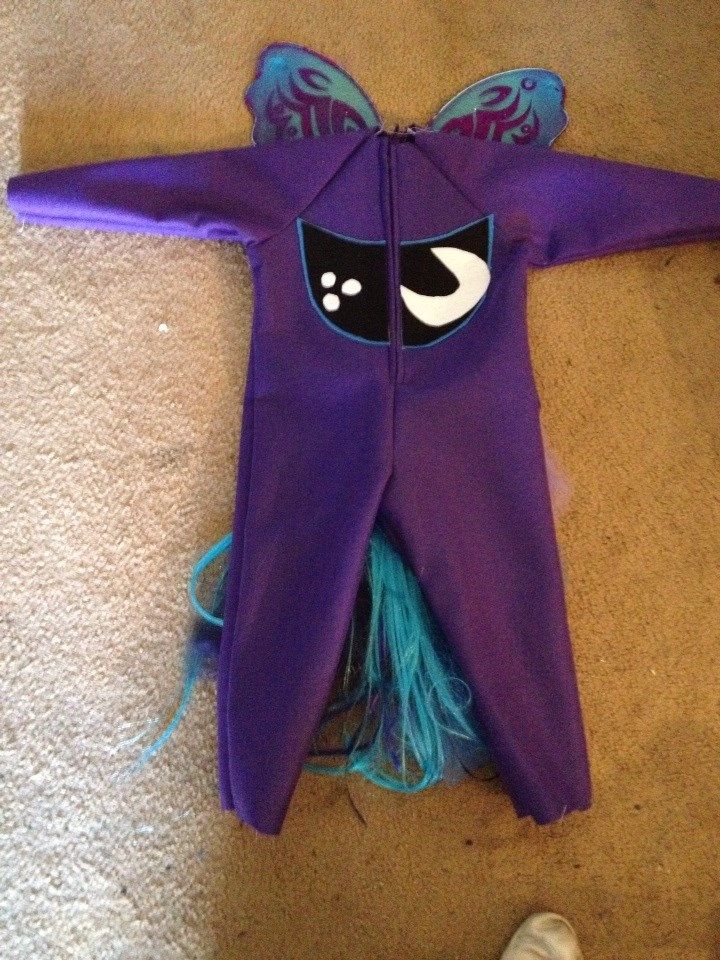 |
| Front and that moon is how it looked in the picture of the pony |
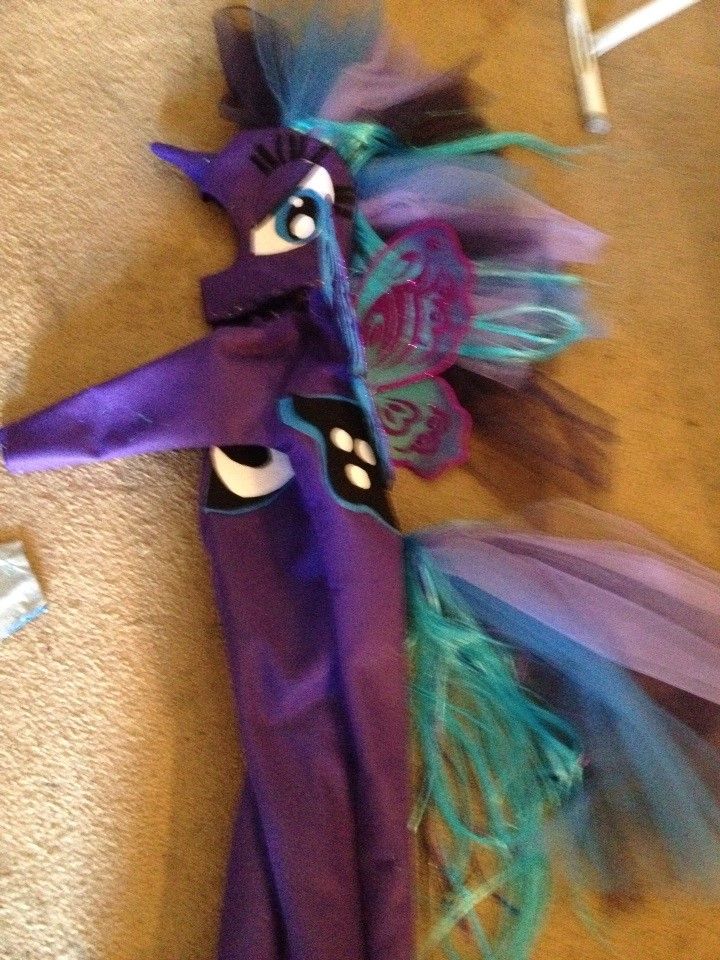 |
| here is the side view |
Thursday, August 22, 2013
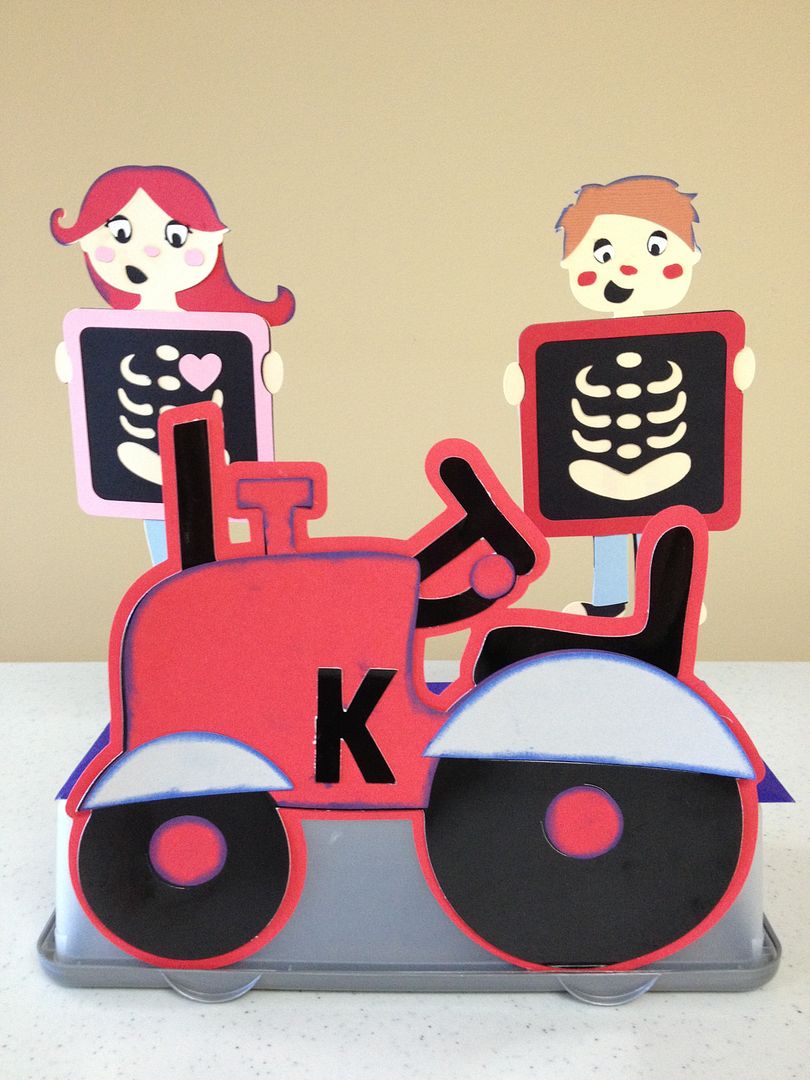
Health & Lifestyle Expo at Kubota Tractor
And I cut a Tractor!!!! The tractor is cut at 8" from Pop Up Neighborhood and the little Xray kids are from Dr. Check Up. My booth will attract attention I think!
Monday, August 19, 2013
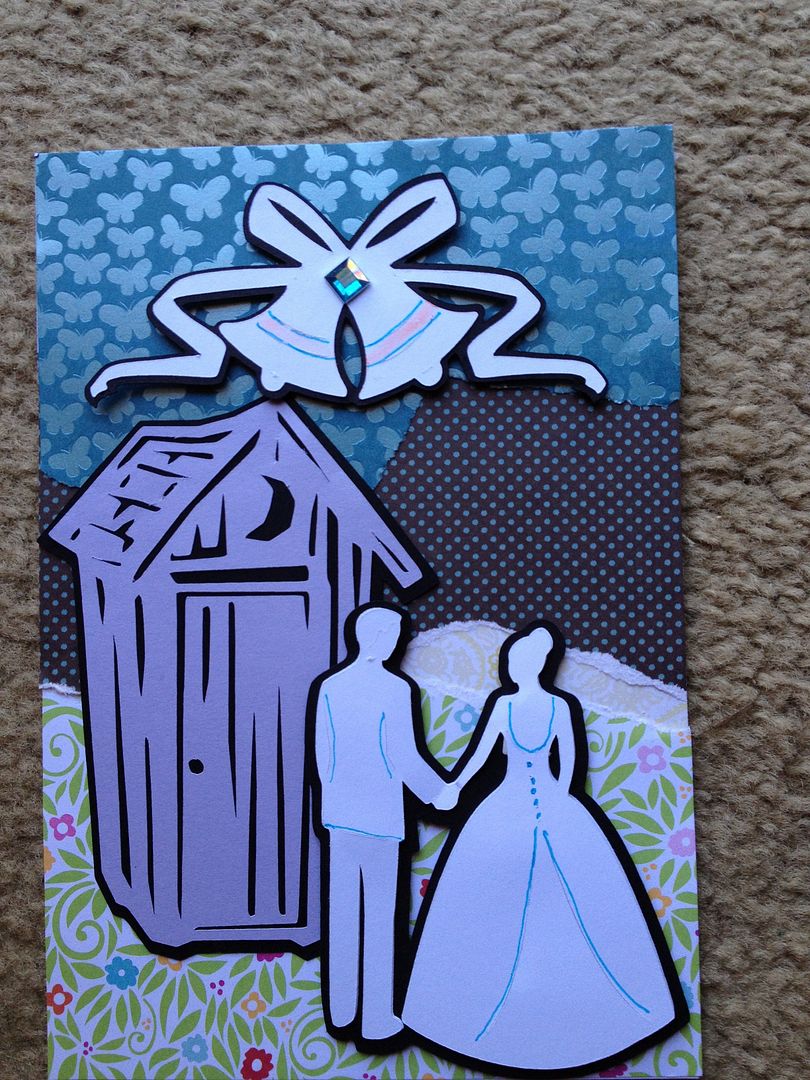
I Do Do
Good morning! I am here!!! Thank you for all the emails and messages. I have not been able to be very creative for 6 weeks!!! Yes, that is why I have been grumpy!
Anyway...thanks to Crafting Desert Divas, I was invited to participate in their BLOG Hop! Hooray.
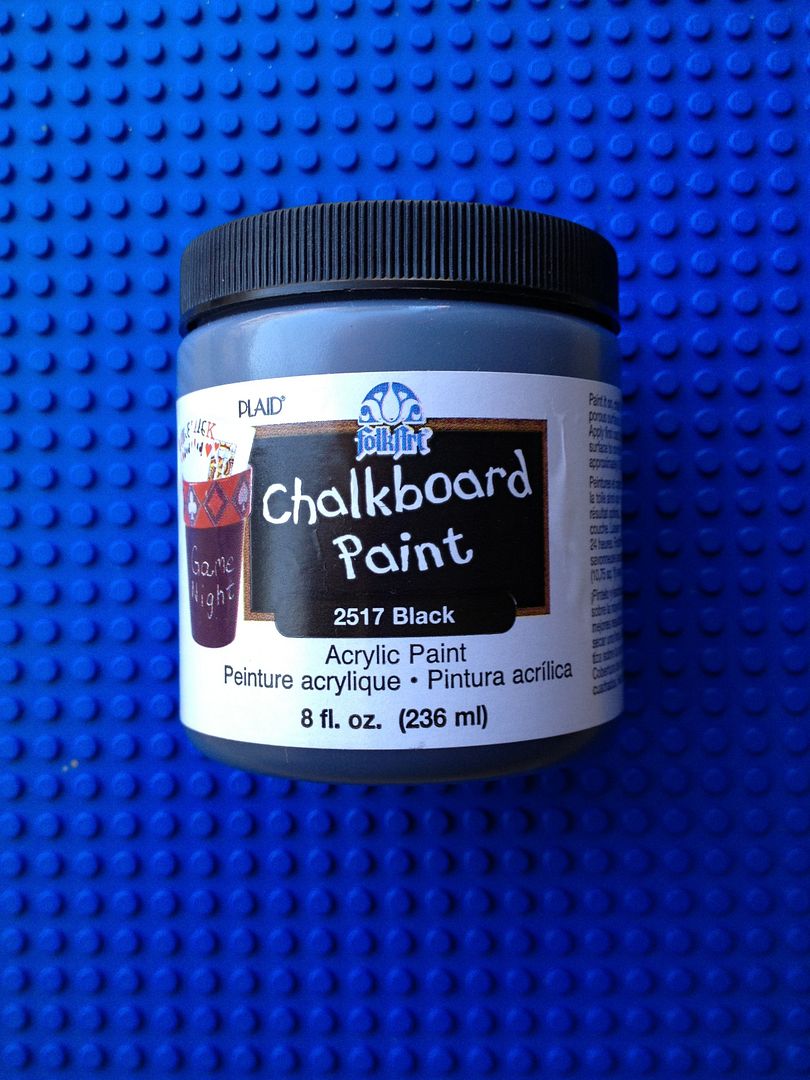
I love the new Chalkboard craze. For a cute Bridal Shower or Wedding Gift, take 2 wine glasses. Wash them and then use window cleaner so they are nice and clean and shiny. Use Chalkboard Paint to paint the bottom of the stem and base. Let dry and paint with a 2nd coat. I recommend a foam sponge brush.
After it is dry...take chalk and write. The couple could have candlelight dinners and write special messages. I wrote His and Hers.
Try this fabulous paint...you'll be painting EVERYTHING!!!

Now this gift offsets another wedding gift that I made for our nephews' wedding. Now...there is a Home Store Gift Card in there along with the camping toilet, toilet seat covers, toilet paper, magazines, toilet humor books and hand sanitizer!!! But they go camping with us every year and we knew this would be a hit! Here is the card that went with it!
Anyway...thanks to Crafting Desert Divas, I was invited to participate in their BLOG Hop! Hooray.
I love the new Chalkboard craze. For a cute Bridal Shower or Wedding Gift, take 2 wine glasses. Wash them and then use window cleaner so they are nice and clean and shiny. Use Chalkboard Paint to paint the bottom of the stem and base. Let dry and paint with a 2nd coat. I recommend a foam sponge brush.
After it is dry...take chalk and write. The couple could have candlelight dinners and write special messages. I wrote His and Hers.
Try this fabulous paint...you'll be painting EVERYTHING!!!
Now this gift offsets another wedding gift that I made for our nephews' wedding. Now...there is a Home Store Gift Card in there along with the camping toilet, toilet seat covers, toilet paper, magazines, toilet humor books and hand sanitizer!!! But they go camping with us every year and we knew this would be a hit! Here is the card that went with it!
Friday, August 16, 2013
I'm Baaaaaack!!!!
Thank you for all the kinds words, messages, emails and texts. I'm fine just working so many hours that there is not crafting time. Be sure to go the Crafting Desert Divas Blog Hop on Monday the 19th. I actually have a craft to share!
In the meantime...here are some crafts I have been doing for the office! The Drs' favorite colors are purple and gold.
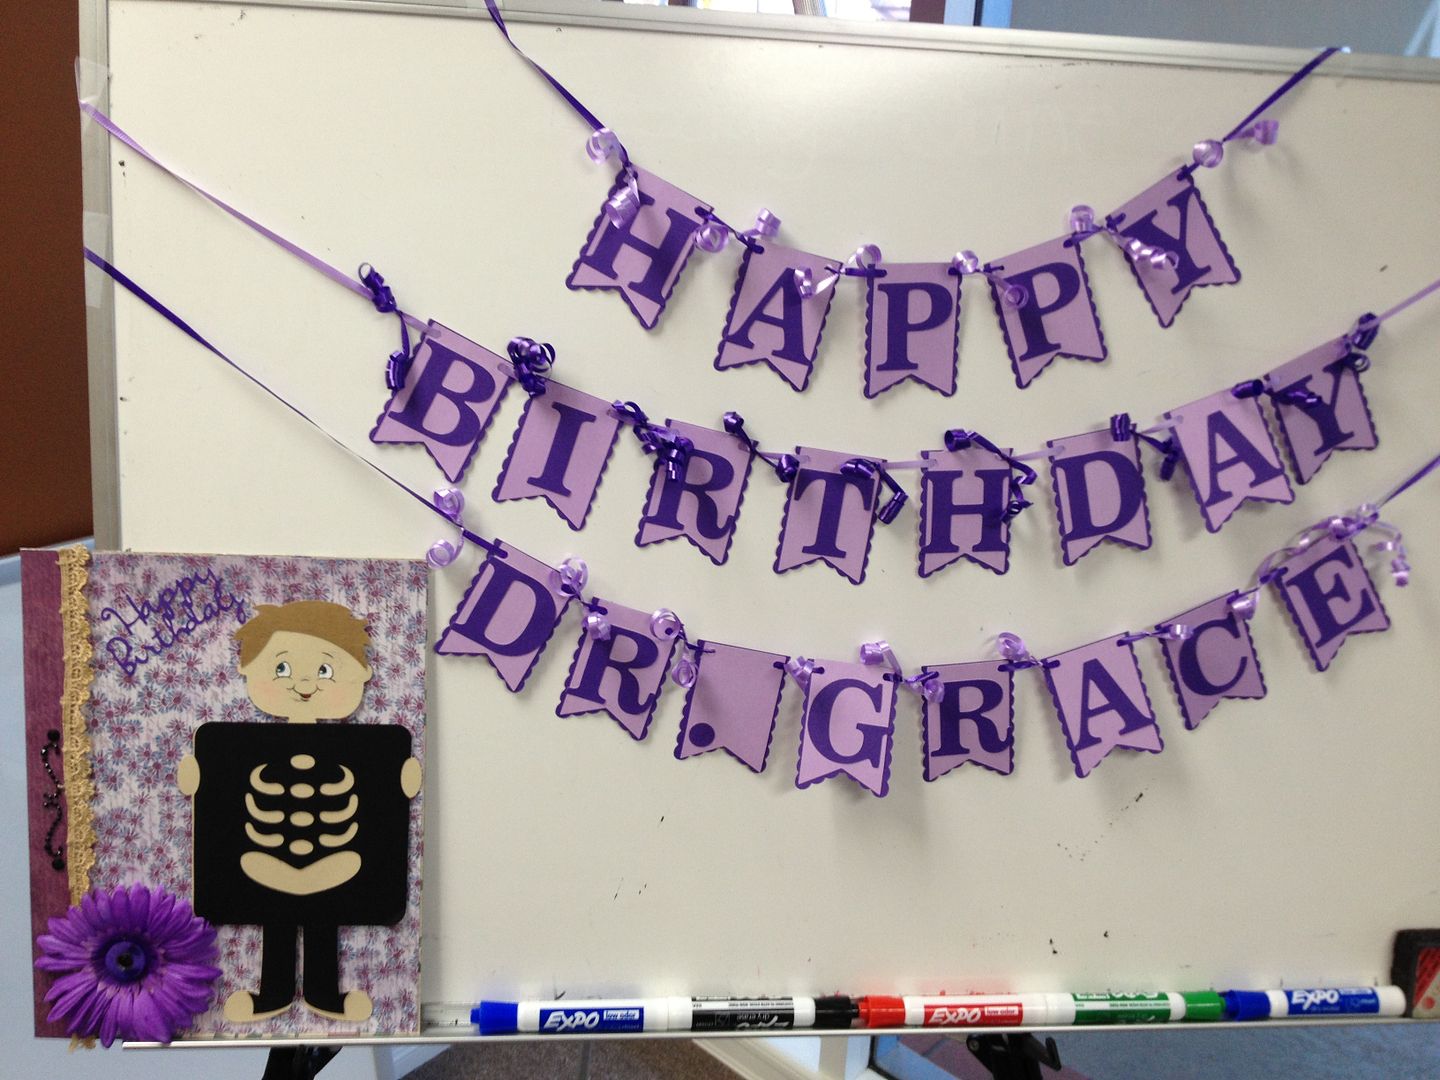

In the meantime...here are some crafts I have been doing for the office! The Drs' favorite colors are purple and gold.
Subscribe to:
Posts (Atom)